Create an Invite-Only Channel
Invite-only Channels and Viewer Registration are available on the premium and enterprise plans.
An invite-only Viostream Channel is an easy, low-touch way to secure your video content without needing to manage your own web publishing software. Only viewers you explicitly invite can access the Channel — everyone else is turned away.
This guide walks through the full process, including what your viewers will experience when they receive their invitation.
Setting Up Your Channel
1. Create the Channel
Follow the Channels Overview to create a new Channel. For an invite-only Channel, Gallery is the recommended type — it gives you sections to organise your content and a visual layout suited to a curated library experience. See Channel Types for a full comparison.
2. Add your Media
Click on the Content tab and add your videos to the Channel. For more information, including how to organise your Media into Sections, see Managing Channel Media.
3. Restrict the Channel to Invite-only
Click on the Audience tab and click the Enable viewer sign-in button. Select Viewers will need to be invited before they can sign in, and press Save. Your Channel is now inaccessible to unauthorised viewers.
4. Invite your Audience
From the Audience tab, click the Invite viewers button. You can either invite users manually by filling out the form, or bulk upload your viewers by importing a CSV file.
For full details on the invitation options and CSV format, see Audience Controls.
The Viewer Experience
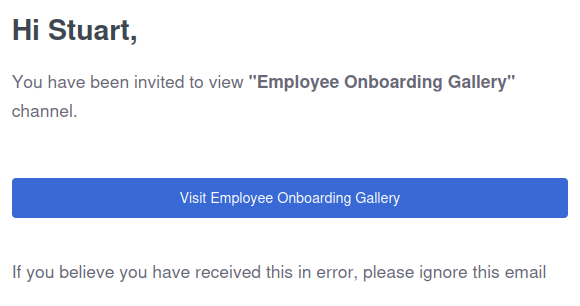
Viewers receive an email invitation
Your viewers will receive an email inviting them to sign in to your Channel.
Viewers click through to the sign-in screen
Once they click the link they will be greeted with a passwordless sign-in screen.
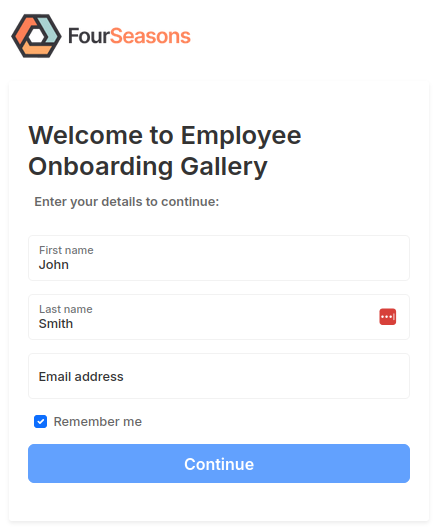
After filling in this form, the viewer will be sent a one-time login code via email.
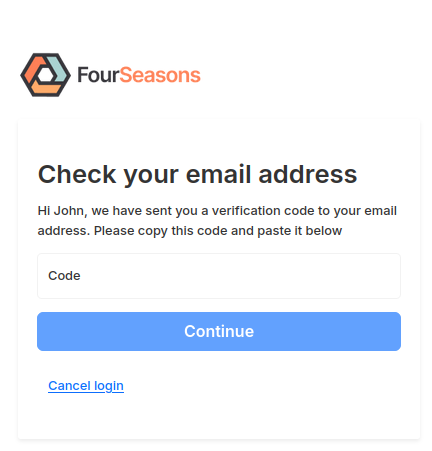
Viewers access the Channel
Your viewer is now logged in and can access your invite-only Channel.

If a viewer selects Remember me, they will not need to log in again on that device for 60 days. After this time, or if they log in from a different device, they can simply request a new login code via the sign-in form.
Ongoing Management
Updating your Channel content
From the Content tab, you can add or remove Media and organise content into Sections. For more information see Channel Sections.
Managing your Viewers
Once your viewers have been invited, you can manage them in the Audience tab. Viewers are filtered by three statuses:
- Active — the viewer has been invited and has signed in.
- Invited — the viewer has been invited but has not yet signed in.
- Suspended — the viewer has been suspended.
You can suspend or unsuspend a viewer at any time by clicking the icon and choosing Suspend viewer or Change to active.
Checking a Viewer's activity
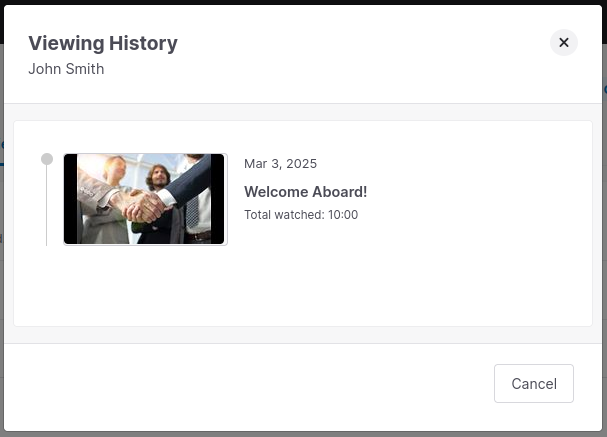
From the Audience tab, click the icon next to any viewer to see a history of their activity — each video they watched, the date, the number of times watched, and total playback time.
Reviewing the Channel Report
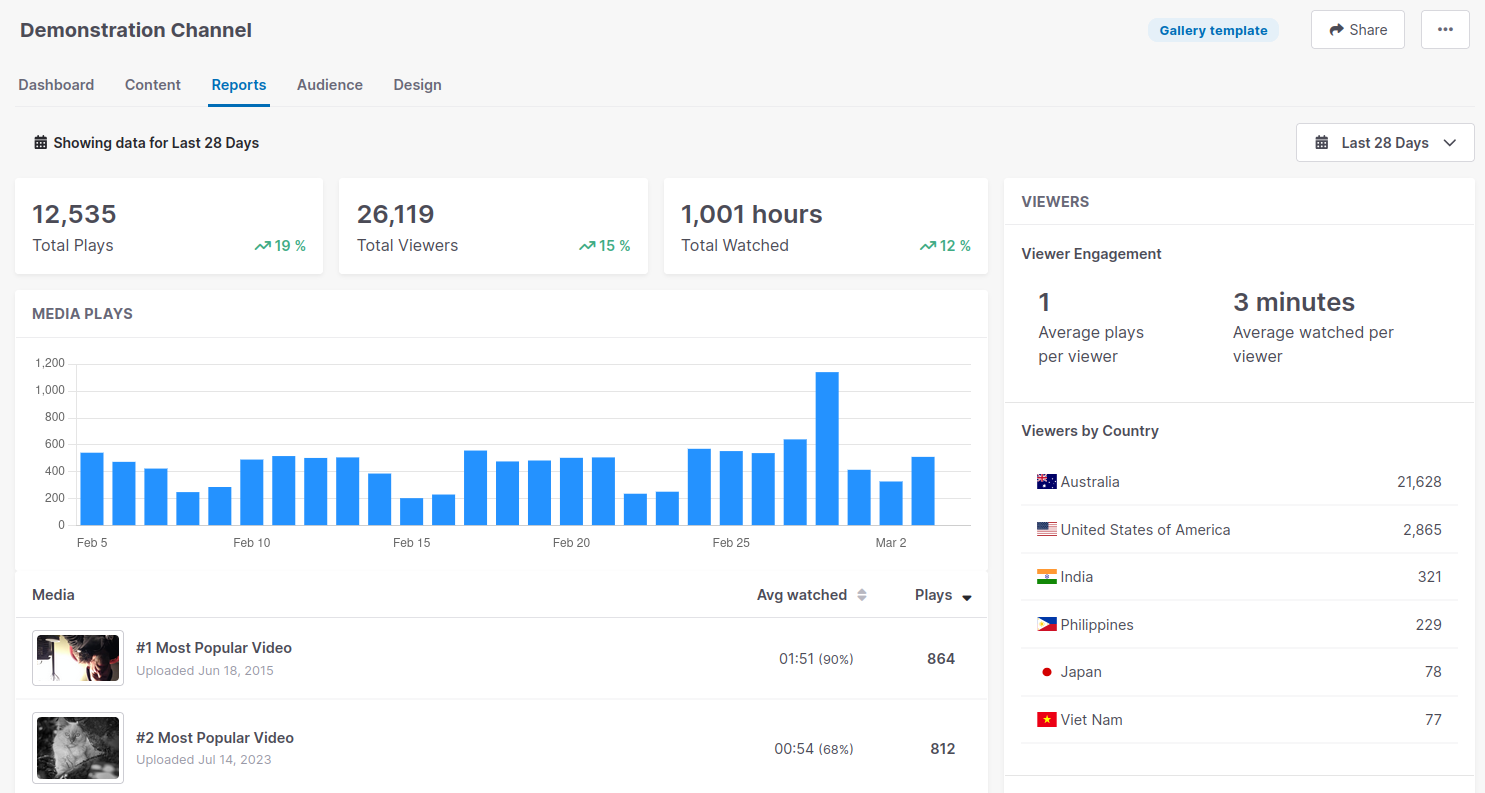
Navigate to the Reports tab to see an overview of your Channel's performance. By default you'll see total plays over the past 28 days, broken down by most popular videos and viewer demographics including geography and device. Use the date picker to select alternative date ranges and compare historical performance.