Managing Channel Media
After creating a new Channel, the next step will be to add your video content. The videos available for your Channel will be pulled from your Library, so make sure you have already uploaded your videos into Viostream.
Once your videos have uploaded successfully, it's time to add them into your Channel. From the Channels tab, click into your desired Channel, then select the Content tab at the top.
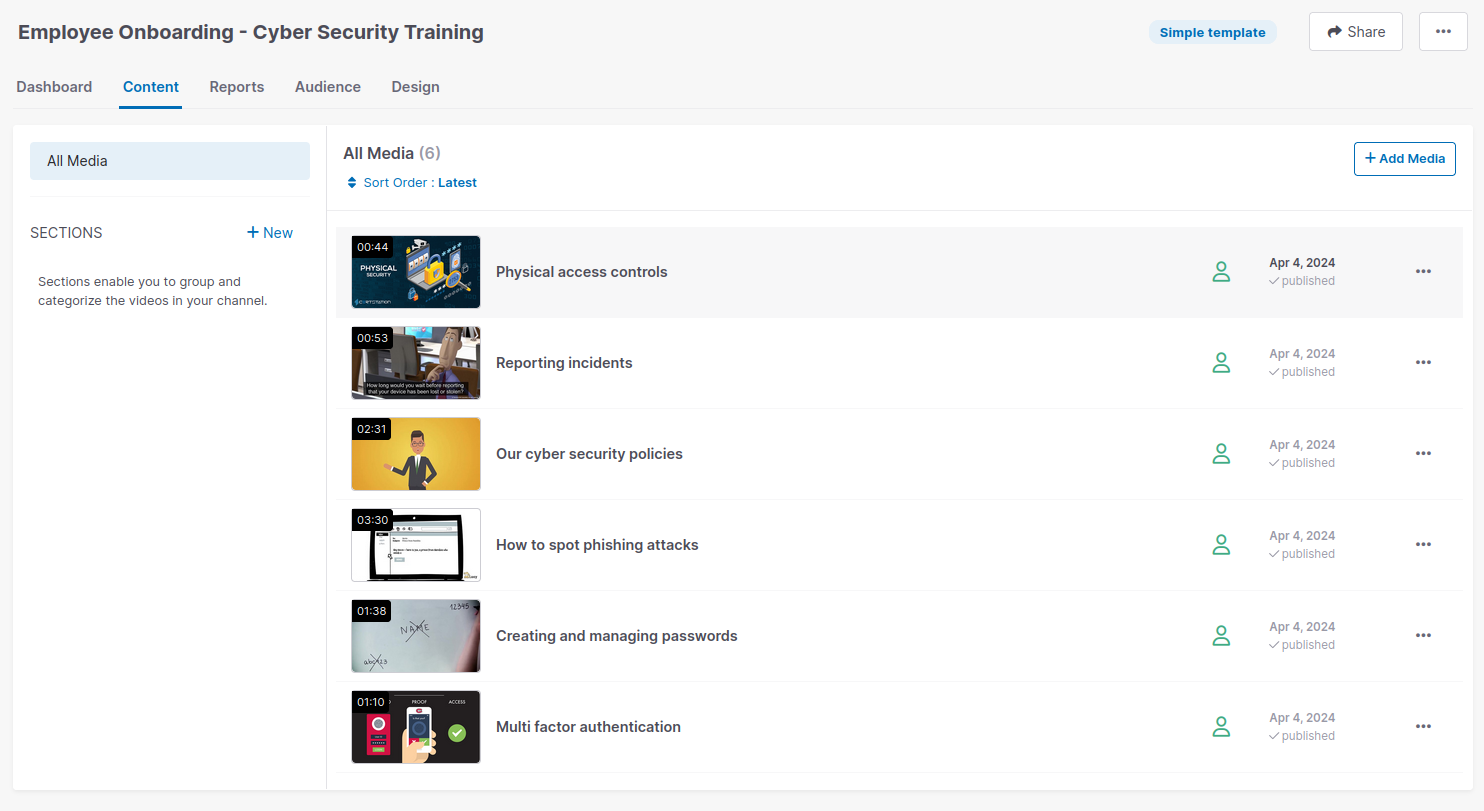
On the Content tab, you can manage your Channel's videos, including adding, removing, creating and managing sections, and reordering the videos on your Channel.
Adding Media
- Click the Add Media button on the right of the page.
- Search or browse through the list to find the video you would like to add.
- Click the next to the video and it will be added to your Channel.
If you would like to learn more about using Sections to organise your Channel, please read the Sections documentation.
Removing Media
- Locate the video you would like to remove. If you have sections, you can find it in the relevant section, otherwise it will be in the All Media list.
- Click the icon at the far right of that video's row, and select Remove from this section.
Reordering Videos
By default, your most recently published video will appear at the top of your Channel. We also provide the ability for you to customise the viewing order.
- Click the Sort Order link.
- Select Manual.
- Click the Update button.
- Drag and drop the thumbnails in the All Media list into your desired order.